3Par StoreServ 7000 – Step by step Installation and Configuration (Part 1)
<UPDATE – 2-19-2013> – HP’s 3Par team was gracious enough to reach out and speak to me regarding some of the hiccups I experienced. First, on the Virtual Storage processor they state that the file system error could be caused by having the wrong time on the ESX host. Since we were also setting up new Blade Servers this could very well be valid. I plan to test and deploy a new VSP in the next day to verify this theory. The other issues are currently being worked on by the 3Par team and they will be fixed by the time most see their system. I can’t say enough about the guys I spoke with, they are truly passionate about the product and are the utmost professionals who will not rest until they have a perfect product. I look forward to working with them on future enhancements.
Last month HP announced the long awaited “baby” 3Par into their storage portfolio, the StoreServ 7000 series. As predicted, 3Par’s entry into the SMB storage market has created a lot of excitement for the IT departments that wanted 3Par technology but didn’t have the budget for the existing models. Since the majority of my clients are in the alternative investment space (Hedge Funds, etc.) they typically ask for the latest and greatest technology to stay on the cutting edge. Naturally, being one of the first to implement a new technology product will most likely net you some of the bugs that present themselves in the first versions of products. Since the Storeserv 7000 series uses that same underlying technology and operating system as the other mature 3Par products, I had no reservations recommending it to my client. One nice thing about this 3Par is the ability for the customer to perform their own installation. Previously, only authorized 3Par technicians were required for the initial install, setup, and configuring.
However, as you will see later in this article I did run into an issue with the initial setup in the new Smartstart Setup Wizards due to a bad setup script from HP, so I had to perform the “birth process” from the command line via serial port. I actually prefer doing these type of procedures from the command line, since you learn a lot more about the technology that is usually hidden under the covers. The rest of this post will be dedicated to walking you through the entire setup process from installing the drives, zoning the fiber to the blade servers, and creating a virtual volume to use in VMware. Note that most of the installations steps can also be applied to the bigger P10000 systems as well since all 3Par’s share the common operating environment.
Ok, let’s get started – my client purchased a StoreServ 7200 with no extra disk shelves. A simple 2U unit with 7TB of space was more than enough for them for now. We removed everything from the boxes and were blown away with how awesome this array looks in person. The following are some pictures form when we first put the array together.
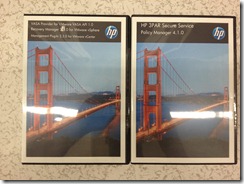
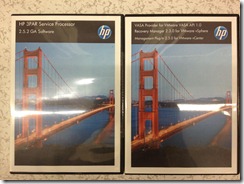
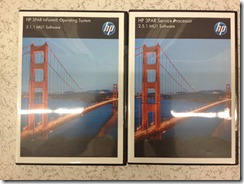
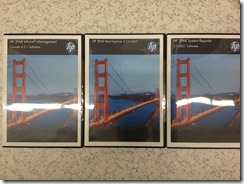
HP/3Par Licensing documents and software
3Par 7200 freshly out of the box
Front right
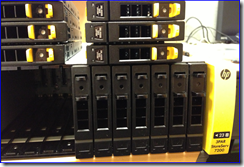
StoreServ 7200 SFF 2.5inch 450GB 10k hard drives
ready to be installed
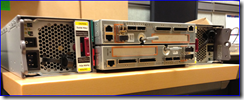
Rear shot of the array
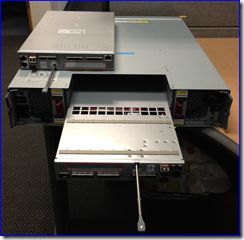
3Par controllers
Controllers removed from array
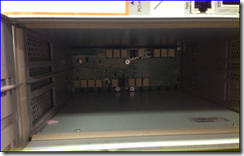
Controller backplane.
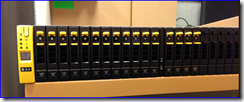
7200 with 16 hard drives installed
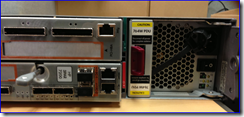
Rear shot of the 7200 – Two 8GB fiber ports on each
controller.
Close up of the power supply units
As you can see form the pictures the StoreServ 7200 comes out of the box pretty much ready to go in terms of physical assembly with the hard drives being only pieces that need to be installed. We opted to go for the 2.5 inch small form factor SAS hard drives to maintain the 2U form factor. Included in the box were SAS cables for future disk shelf expansion, power cables, labels, software, and licensing. After taking a good look at the array, the design seems to be well thought out by HP Engineers – there is even a nifty rod that doubles as a pull handle\locking mechanism for the controller nodes. It’s amazing HP was able to pack this amount of power and features into a 2U box. On the rear of the chassis we have the two standard 110 volt power supplies that back each other up in case one experiences a heart attack. In the middle you have your two controller nodes that house the special 3Par ASICs, processing power via a 1.8GHz chip, and your cache repository. The base configuration we ordered came with the following I/O ports on each controller: Two 8Gb fiber ports, one RJ45 for remote copy, another RJ45 for Management, and finally three manufacturer diagnostic ports.
At this point this first thing I wanted to do is make sure that we registered the product and and make sure that we obtained all pertinent license keys. As seen in the first picture the blue envelopes contain a printed paper from HP with an Entitlement Order Number (EON) number. You will notice that some of the EON’s can be the same for different licenses which is normal due to the bundling. When you have written down all of your EON’s you will need to register them on HP’s licensing portal. The site will instantly send you all of the associated license keys. The keys will be entered into the 3Par toward the end of the “birth process”.
Next, we have to initiate the “birth process” of the 7000. First, we are going to setup and configure the 7000’s Service processor HP now supports the Service Processor in a virtualized environment and makes it super easy by providing a pre-made OVF package. The OVF resides on one of the DVD’s that come in the box. Fire up your vSphere client and connect to one of your ESXi hosts. Once you are connected navigate to File > Deploy OVF template. On the source page, click browse to import the OVF from its location on the DVD, click next. On the OVF Template Details page, verify the OVF template, then click next. On the name and location page, enter a name for the virtual storage processor then click next. On the disk format page, select Thin Provision, then click next. Now click finish and check the box on the bottom to power on the VM once the deployment is complete.
Now, here is where I ran into the first of my two major issues with the array setup, which I attributed to poor HP quality control. So, when I booted up the vSP the Linux OS ran through the standard file system check during boot it stopped and informed me that the file system wasn’t consistent and needed to repaired – oh great!!! <SEE TOP OF POST FOR UPDATE>
Since I was probably one of the first HP resellers in the world to set up a 7000 I realized that finding someone at HP to actually acknowledge this issue and help me would be a daunting task. At the end, it actually worked out well. After about two hours of navigating through different storage support groups I finally found a very knowledgeable and helpful engineer in Colorado who saw this issue in HP’s internal training classes. Even though the error gives you some guidance on the switches that you should use with the fsck command he advised to use some different ones. He had me enter in the following command (without the quotes) to repair the file system: “fsck –yvf /dev/sda*” I hit enter and let it run, after it ran through I typed in reboot as depicted below.
Now that the Service Processor’s file system is repaired it should now be in an operational state. We need to connect to the SP via a web browser to start the birth process. The SP received an IP address via DHCP which you can discover by going to the “summary” tab for the VM under the vSphere client. Now, in your browser type the web address as follows: https://IP/sp/SpSetupWizard.html This should get you to the Service processor setup wizard as seen in the below picture.
Click next on on the welcome screen.
I got stuck on the next screen since the documentation provided didn’t tell me how to obtain my Service processor ID. HP ended up forwarding me a document which explained how they changed the process and that the 3Par serial number should be entered. The article ended up getting posted on the HP site here. As it states the S/N should be prefixed with SP000. So, if you serial number is 1601234 the Service Processor ID will be SP0001601234.
Next, fill out the hostname and IP address information, along with the DNS support info, and advanced settings if applicable. Hit next when complete.
The next screen pertains to the “phone home” feature of the SP. This will allow the array to send HP information on the status of the array. This is a nice feature since Hp will know if the array had a bad drive and automatically get the ball rolling to let you know about it and get you a replacement. If you don’t have a proxy server for internet access you can leave these settings blank.
Simple stuff here – I recommend using an NTP server.
Set a new password for user names “setupusr” and “3Parcust”
Make sure all information is correct and click next.
Now, the “birth process” will start.
Once the Service Processor has been setup and configured you will return to the main menu. The next step is to run the “Storage System Setup Wizard” to initialize the actual array which is part of the process that carves out all the chunklets.
Here is where I ran into some serious issues. No matter how many times I tired and enter in the serial number the process would always kick back with the same error shown in red. I went through all of my wiring to make sure the SP was on the same subnet and able to communicate to the array. As I previously stated I was finally able to make contact with a 3Par engineer that was notified of this problem. He stated that their is a known problem with the wizard driven setup process and a file containing some metadata for proper detection of the array was accidently left out. I’m starting to wonder if it was the same guy that compiled the OVF ![]() .
.
This is where things got interesting. The only thing we could do at this point is manually setup the array from the command line via serial port. I originally recorded the entire process but since I don’t posses enough patience to get into video editing I will continue to use screenshots. At the end of the entire process I actually ended up enjoying seeing the entire process in the command prompt since I saw everything that was going on under the covers. I imagine that by the time most people read this HP would have fixed all these issues and the wizard should work flawlessly. Anyway, the following are the steps taken to manually bring the array alive via command prompt.
First, we will need to hook up the array to a laptop via a USB-to-Serial converter. Also, the system comes with two connectors that have a serial interface on one end and a RJ45 on the other end. Make sure to utilize the gray connector (PN 180-0055) which you should connect a CAT 5 cable into, the other end should connect into the MGMT port on the first controller. Use a program like “Putty” to connect to the array, make sure to use 9600 as the baud rate.
Once you are connected you should should get a prompt to enter in a username and password. I used “console” as the username and the password for your system can be obtained by contacting HP or you can reach out to me directly as it appears to be confidential info.
You will now be presented with the 3Par Console Menu. To start the process I selected number 6 and hit enter. The console will not ask you to enter in “yes” to confirm that you are OK with the system to shut down and reboot.
3Par booting up… Looks like an Intel 6 core 1.8Ghz chip is in each controller in the 7200.
Now that everything is fresh and clean we are going to select number 1 to run the “Out of the Box Procedure” then type in “Yes” to continue with the procedure.
I can confirm that we indeed do have two nodes in our 7200 by hitting “c”
I typed in 1 to select New York. I then hit enter to confirm that the time reported was correct.
Typed in a name for my 7000 and confirmed.
Confirmed all OS versions looked good.
Verified that the OS was seeing all 16 drives. The OS then ran a check to make sure all drives and drive cages had the latest firmware. This setup also made sure that all connections looked good.
The system then prompted me to run a stress test on the entire array by running a heave amount of I/O through all the disks. I deferred this for later due to a time crunch but recommend that you run this immediately to weed out any potential array issues that can be lurking. The test takes about two hours and 15 minutes. You will notice than an error message popped up stating that my array has less cages than nodes. Since I currently didn’t have any connected add-on drives cages (or shelves as some would call it) I am considered to only have one drive cage. The system has two controller nodes so obviously we have more nodes than cages. For protection and performance reasons you should always have multiple drive cages. My client was small enough to not require this. This error will eventually clear itself after a few prompts.
I put in an available static IP with corresponding netmask, gateway, and temporary DNS. The DNS should point to a local DNS server, such as an AD integrated box. I made sure to not disable any encrypted ports. Once completed I hit “y” to confirm everything looked good.
The setup process is now running – as you can see the chunklets are now being created.
Now, the system wants us to dictate on how we want the spare chunklets aggregated. I selected “D” for default which puts us at 13%.
Looking at the shot above we can see that more license keys need to be applied since I have more than 8 disks and other features that were ordered. We will add this later.
I selected “No” for the CIM API’s.
Storage Array setup is now complete.
I then ran option 10 which will go through all the components in the array to make sure all components are healthy and ready to go.
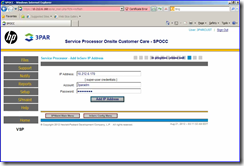
Now, we have to mate the Service processor up to the storage array. We can start this process by browsing to the SP to access the Service Processor Onsite Customer Care (SPOCC) via a web browser. Simply type in the IP address of the SP that we configured earlier using https://.
Once you are in SPOCC, on the left click SPMaint.
Click on “Add New INserv”. Once there add the array’s IP we created in the command line setup. Use account 3Paradm and the password you setup earlier. We now have the array and SP mated up.
In part two of this article we will go through the remaining tasks to setup the array. This will include configuring the zoning between the array and the HP blade servers. For this task we will be configuring this on our Brocade fiber blade switches. I will also take you through applying the license keys via the command line, setting up your hosts in the InForm management console and carving out a LUN to our VMware hosts. This will require us to setup our CPG’s and VV’s which we will export to our hosts.
As I said earlier, I wasn’t concerned much on some of the hurdles I faced, since most of it adhered to components that are not mission critical to the underlying operation of the array. The Smartstart wizards are a nice approach to make an advanced array approachable to a normal system admin. I’m sure HP will fix these issues in the next week or so.
Thanks for reading, see you in Part 2.
3Par P10000 V400 Quad Controller Implementation for Private Cloud – Part 1
Over the past several months we have been working closely with a client here in Manhattan who has outgrown their on-premise IT infrastructure. They are a very successful Hedge Fund that despite the current economic situation has grown very rapidly over the last few years. They are 100% virtualized with about 130 virtual servers and 100 virtual desktops. Keep in mind that since this is a fast paced, high growth Hedge Fund the overall workload of these 100 users can easily generate more horsepower than a firm with 1000+ users. Scaling the on-premise IT Infrastructure has been quite the challenge. When you grow to a certain point it can become very costly and risky to keep your server room in the middle of Manhattan. Many buildings will only give you certain amount of power to your server room with no exceptions and the overall power infrastructure can be very unstable. At the other end of the spectrum it also doesn’t make much sense to keep server in an office space where you are spending $2000+ a square foot.
With the above factors being taken into account we decided to move the client into a Private Cloud/Co-location infrastructure. There are many moving parts that go into the success factors of such an involved migration. The design includes upgrades to the low latency, high bandwidth networking, storage, servers, applications, and disaster recovery to name a few. However, this post will focus directly on the storage aspect. My client has been running on an low level EMC CLARiiON CX series SAN. Options such as FAST and FAST Cache have been added over the years to help keep up with the I/O requirements of the firm. Unfortunately, the SAN could no longer keep up with the heavy unpredictable virtualized workload and since the users were working off virtual desktops the pain was felt on a daily basis. Originally the firm was going to stick with EMC and either upgrade to a VNX 5500 or 5700. No doubt, the VNX 5000 series are very capable arrays that can hold up to 500 spindles and handle a large amount of I/O. I had our client start looking at the 3Par arrays for many reasons. First, the 3Par’s are specifically designed from the ground up to handle the type of mixed/unpredictable workload that is generated from my client’s virtualized infrastructure. The 3Par systems are famously known for the way blocks of data are placed on the disks. The virtual volumes on the array are “wide-stripped” across all “like” disk spindles which provides a MASSIVE amount of horsepower. All this is done on a hardware level via the purpose built Gen 4 ASIC. What this means is that 3Par specifically designed a processor with instructions sets that dedicates itself for many of the storage operations that other vendors would normally offload to a non purpose built off the shelf chip. There are a lot more benefits in this area that I will explain in a separate series of posts that I will finish in the near future.
Our client ended up going with our recommendation of an HP/3Par P10000, two of them actually ![]() I did a write-up of the new P10000 specifications in another post. We specifically went with a v400 model with four, yes FOUR controllers! The client demands 100% uptime with no tolerance for slow downs. One thing that I generally dislike about arrays is the risk the comes along with upgrade the operating environment or firmware. The majority of mid-range SAN’s including the VNX series can only house two storage processors or controllers. This means that when you either upgrade one of those controllers
I did a write-up of the new P10000 specifications in another post. We specifically went with a v400 model with four, yes FOUR controllers! The client demands 100% uptime with no tolerance for slow downs. One thing that I generally dislike about arrays is the risk the comes along with upgrade the operating environment or firmware. The majority of mid-range SAN’s including the VNX series can only house two storage processors or controllers. This means that when you either upgrade one of those controllers or if one of them fails the array will disable cache functionality on the operational controller all read/write operations will go directly to disk. This is a built in safety measure since a failure of the last surviving controller with actual data sitting in cache will result in some major data loss. Working on one controller is bad enough but when you also throw working without caching operations a serious degrade in performance of the entire infrastructure will occur. As stated the 3Par we chose has four controllers with a feature called “Persistent Cache”. Not only do we have four meshed active controllers eating away at the I/O operations but we also have the PC feature which protects us if a controller should fail or during an upgrade operation. PC will rapidly re-mirror cache to the other nodes in the cluster when a controller failure occurs. If you have ever been through an EMC upgrade you know that it can take a ton of time and I know of several cases where an upgrade process rendered a controller useless. This, of course can happen on any array. . This was a huge selling point to the client and it allows the administrators to be more at ease during an upgrade.
In Part 2 of this blog post I will go over some more specifications and the physical assembly process of the entire array.
3Par P10000 V400 Quad Controller Implementation for Private Cloud – Part 2
In Part 1 of this series we briefly touched upon a few key selling points that sealed the win on the 3Par over the VNX 5000 series.
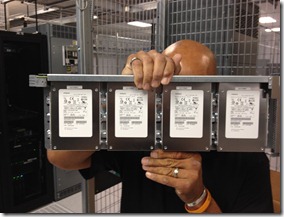
So, once we decided which vendor we were going with we had to make many decisions on the actual guts of the system. As I mentioned, we knew from the very beginning we wanted to go with the latest and greatest model of 3Par which is the P10000 series. The P10000 is offered in both the V400 and V800. The V400 has a maximum capacity of 800TB and the V800, 1.6PB. That was an easy one, no way are we hitting even 800TB. When it comes to configuring a storage device most people get caught up in the space requirements, but in my opinion, that is the easy part. I like to focus on the amount of horsepower (I/O) that is needed. The I/O requirements will absolutely tell you at minimum how many disks will be required, from there you can then work on the space requirements. Since my client’s environment was 100% virtualized (servers & desktops) it was pretty easy to determine the workload. As we stated in Part 1 a virtualized environment presents a very unpredictable workload. For instance, I can have a single VMware datastore with several VM’s that all present a different types of workload – an Exchange server (HEAVY), FTP server (LIGHT), ERP system (VERY HEAVY), and a DHCP server (LIGHT). When we throw a Virtual Desktop environment into the mix this can really bring a SAN to it’s knees if everything wasn’t taken into account. To get a rough picture of what we were dealing with we used VMware’s Capacity Planner software. This along with several other tools and 3 years working knowledge with the client gave us a great idea of the I/O profile that we were faced with. Knowing that 3Par’s were specifically designed for this type of unpredictable heavy workload I knew the V400 with Quad controllers would easily handle the 150 VM server environment. That’s not even mentioning 3Par’s “Mesh-Active” design into the mix to further justify the above. Many other SAN’s provide what I call “phantom active-active” controller designs. In other words a competitor’s system may state an “active-active” architecture but each volume is only active on a single controller at a time (how cheap). However, 3Par’s “Mesh-Active” design allows each volume to be active on every controller in the system. (way to use those quad controllers :0) The result in a much more scalable, load-balanced system. In the backend a high-speed, passive backplane joins together all controllers to form a cache-coherent, active-active cluster. For the client’s secondary/DR site down south with only a dozen VM’s we went with the V400 with dual controllers. I know many people must be thinking that these systems (with costs in the 7 figures) were overkill for the environment but those who work in a Financial Firm that performs active daily trading you know that every millisecond counts. After we got our workload and space requirements figured out we spoke with a few HP Engineers to validate the design and confirm the specifications. The client’s onsite Engineer had such a bad experience with an incorrectly configured EMC CLARiiON that he wanted to throw SSD drives in the mix to be safe. Even though our workload didn’t command them you can never go wrong with throwing SSD’s into the mix. **TEASER PIC TIME** ![]() More to come below….
More to come below….
Before we placed the order we had to decide on which add-on software packages we would need. We skipped over the usual Exchange & SQL recovery software that comes with all the SAN vendors and went with the following pieces.
–THIN PROVISIONING – 3Par’s claim to fame is being one of the early pioneers on thin provisioning technology. 3Par aimed to take away the negative thoughts most administrators typically have when it comes to placing high workload servers on a thinly provisioned volume. 3Par has optimized the array from the ground up to tackle this by building Thin Provisioning right into the ASIC. For example, a 3Par processes (or moves) pages in 16K chunks. So, if the ASIC sees a 16K block of zero’s coming into the system it is smart enough to de-allocate this on the backend, without using any CPU cycles. This is incredibly noticeable.
–RECOVERY MANAGER FOR VSPHERE/VIRTUAL COPY – This software will allow us to take consistent, online virtual machines snapshots. The ability to recover VMDK’s on a granular basis is a huge value add for us. This software will also allow us to take advantage of VASA which gives us complete integration of our storage environment right in the vSphere client. The option to view storage information, alarms and events right from the vCenter console will make management that much easier for us.
–REMOTE COPY – Since we have two active production sites that also act as DR for each other the remote copy software was a must. The concept is very simple. We can replicate our volumes to another 3Par on either a synchronous or asynchronous basis.
–SYSTEM REPORTER – 3Par’s SR software will give us the visibility required to completely monitor our system. I want to be able to track my Thin usage and to see previous and future trends in my storage performance. SR will also allow us to generate reports on all aspects of the system. i do have to admit that I hope to see SR mature a little bit more into a much more friendly GUI. EMC definitely is above the pack when it comes to attractive looking management consoles. Hopefully HP moves SR into being much more more friendly to the GUI centric Windows administrator.
–ADAPTIVE OPTIMIZATION – AO gives the array full control of placing heavily used block of data on faster disks and scarcely accessed blocks on high density slower SATA disks. Since we incorporated SSD’s into the design the software will place the most frequently access blocks of data on these very fast drives.
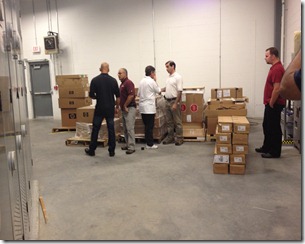
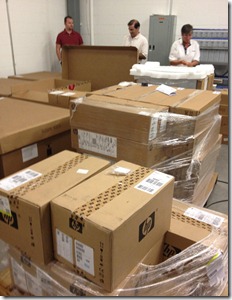
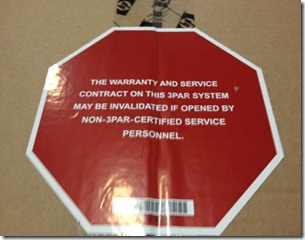
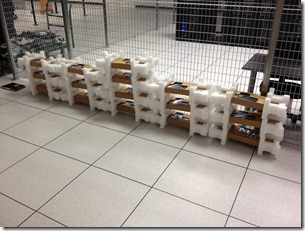
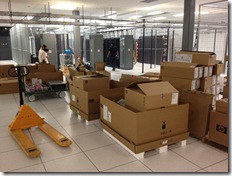
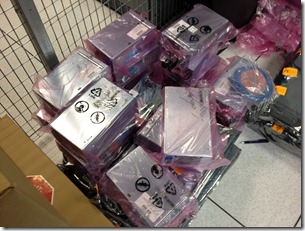
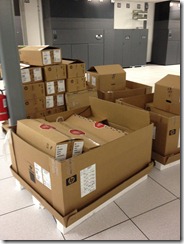
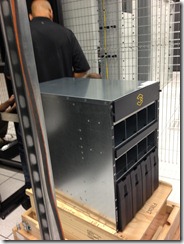
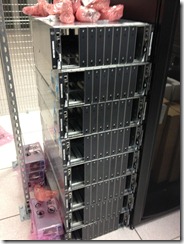
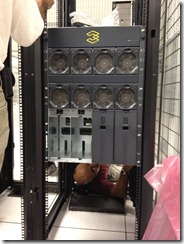
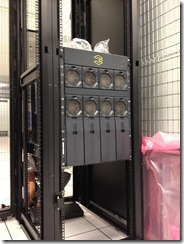
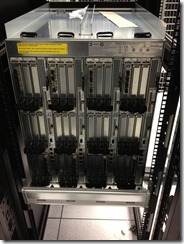
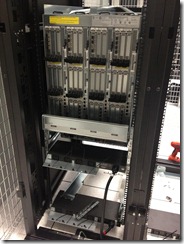
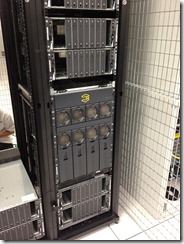
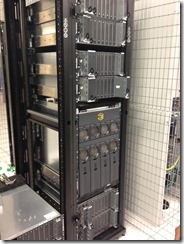
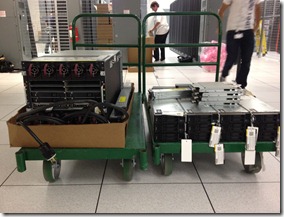
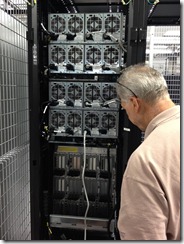
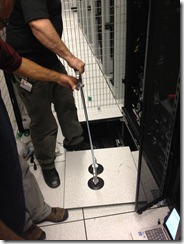
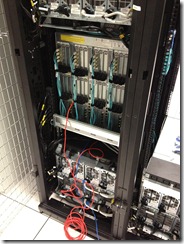
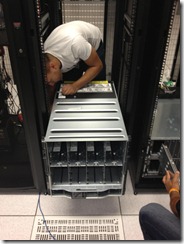
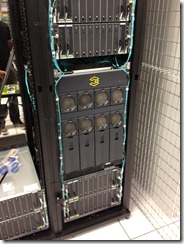
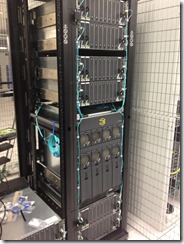
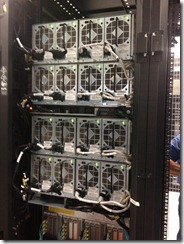
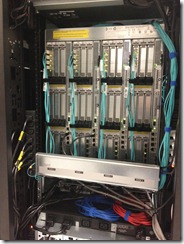
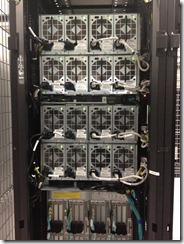
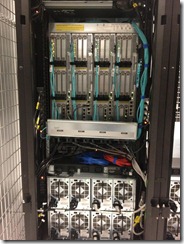
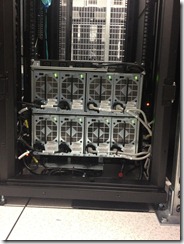
So after all of these details were ironed out the final orders for both 3Par’s were placed. HP estimated that they would be delivered within 30-60 days. I don’t recall the exact time it took to receive them but it was much quicker than what we were told. HP then scheduled out a few people to start the assembly process of the array. About a week ago we went out to the co-location facility in New Jersey to break ground and get started. We ended up going with an APC 48U cabinet and not with the default one that comes with 3Par. This meant that the array did not come together in one piece from the factory so we had to put everything together, piece by piece. First, we assembled all of the shelves and rails into the cabinets which seemed to be the easiest part. Next, we had to install the HP PDU’s. This placement decision for the PDU’s turned out to be a pain. As you will in the pictures it ended up turning out well. Make sure you have your rack elevation diagram drawn out accurately to make it easier. The side mounted PDU’s turned out to be pretty clean and i was satisfied with the way the cables management came out. After the PDU’s were worked out the assembly process went pretty quick. The backplane where the controllers are housed got racked first and then came the disk shelves. Dual homed Fiber was run from the disk shelves in a meshed manner to the four controllers. Once the assembly process was complete the communication channel from the SAN to 3Par’s management NOC was setup to go out through the Internet via HTTPS. Management IP’s were then configured and the scripts to perform the initial configuration and hardware testing were kicked off. All hardware and wiring were confirmed good to go and we ended the say with a successful install!
In Part 3 of this series we will go over the process of configuring the 3Par and setting up all the software. We will also go through the connections process and wiring to the blade chassis. Virtual Connect firmware 3.70 will allow of to implement HP’s new FLAT SAN topology where we completely eliminate the middle fabric (SAN switch) layer. That means we will be plugging the 3Par directly into the back of the Blade chassis. Enjoy the pictures and stay tuned! -Justin Vashisht (3cVguy)


